
Introduction
If you’re searching how to remove a shower door, you’re probably dealing with one of these situations: the door is leaking, the rollers are failing, the frame is corroded, or you’re upgrading the enclosure. Removing a shower door is doable for many homeowners, but it can also go sideways fast if the glass is heavy, the screws are stuck, or the frame is sealed with stubborn silicone.
This guide walks you through a safe, practical removal process and shows you when it’s better to bring in a pro.
If your shower door is sticking, grinding, or off-track and you’d rather repair than remove it, start here: JDM Shower Door Repair service
If you’re replacing glass or need help with measurement/cutting, see: JDM Glass Repair & Cutting Services
If your sliding door issues extend beyond the shower (patio/sliding glass), see: Sliding Door Repair Service
Quick Safety Note (Read This First)
Shower door glass is heavy, edges can be sharp, and tempered glass can shatter if stressed at the corners. Learn why in 5 Facts About Cutting Tempered Glass (And What to Do Instead). If the door panel is large, always use two people. For glass handling safety standards, the U.S. Consumer Product Safety Commission provides guidelines on safe glazing in bathroom enclosures.
What You’ll Need
- Screwdrivers (Phillips + flathead)
- Allen key set (some handles/rollers use hex screws)
- Utility knife / razor scraper (for silicone)
- Painter’s tape
- Putty knife or plastic scraper
- Drill (optional, for stubborn screws)
- Towels or a moving blanket (to protect tile and glass)
- Gloves + eye protection
Step 1) Identify the Shower Door Type
Most shower doors are one of these:
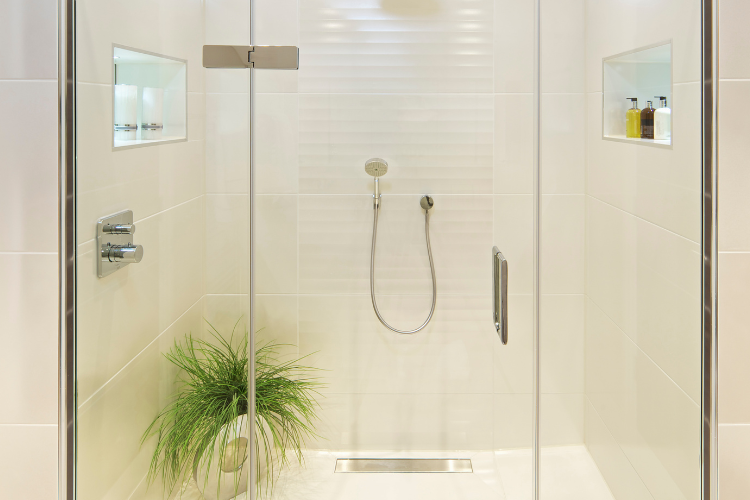
- Frameless swinging door (hinges on one side)
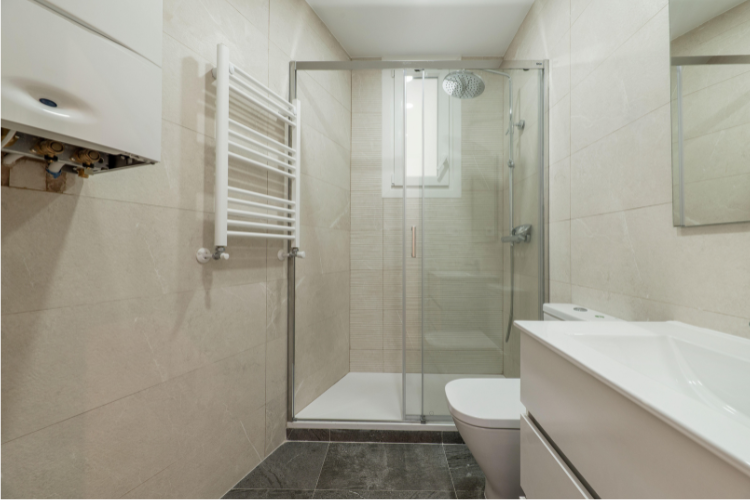
- Framed sliding doors (two panels on a track)
- Semi-frameless sliding doors (minimal frame, still track-based)
If you’re unsure, look for:
- A top and bottom track = sliding system
- Hinges attached to the wall = swing door
Step 2) Protect Your Tile, Tub, and Drain
Before loosening anything:
- Lay towels or a blanket in the tub/shower pan
- Cover the drain (small screws love to disappear)
- Add painter’s tape along the edges where tools might slip
This step prevents cracked tile and chipped glass.
Step 3) Remove Handles, Towel Bars, and Accessories First
Most shower doors have removable hardware:
- Handles and towel bars are often secured with hidden set screws (Allen key)
- Some have caps you pop off to reveal screws
Removing hardware first reduces weight and makes the panel easier to control.
Step 4) Cut the Silicone Seal (Don’t Yank the Frame)
Most shower doors are sealed at:
- The wall jambs
- The bottom track
- Sometimes the outer frame edges
Use a utility knife to cut silicone along both sides of the frame/track. Then gently work a plastic scraper or putty knife under the seal.
Step 5) For Sliding Doors: Lift Panels Out of the Track
If you have a sliding shower door:
- Slide the inner panel to the center
- With one person stabilizing the panel, lift up into the top track
- Swing the bottom edge inward and bring it out
- Set the panel down on a padded surface
Repeat for the second panel.
If your door is sticking or grinding before removal, it’s often roller/track issues; repair may be easier than removal. See JDM Shower Door Repair service.
Step 6) Remove the Track and Frame (Slow and Steady)
Once glass panels are out:
- Unscrew the top rail (if present)
- Remove wall jamb screws
- Carefully pry the bottom track up after silicone is cut
If screws are stripped or corroded:
- Use a drill on low torque
- Try a rubber band trick for grip
- Step up to a screw extractor if needed
Step 7) Clean Leftover Silicone and Prep the Surface
After the frame is removed:
- Scrape remaining silicone carefully
- Use a cleaner designed for adhesive residue (test first)
- Wipe and dry completely
This matters a lot if you’re installing a new door: new silicone won’t bond well to old residue.
If you’re replacing glass or need a new panel cut to fit (common during upgrades), see JDM Glass Repair & Cutting Services.
Common Mistakes to Avoid
- Removing the frame before cutting silicone (can crack tile or tear wallboard)
- Trying to lift glass alone (risk of dropping/shattering)
- Forcing stuck screws (strips heads and makes removal harder)
- Setting glass directly on tile (always use padding)
When to Stop DIY and Call a Pro
Call a technician if:
- The glass panel is large/heavy and you don’t have a helper
- The frame is corroded and screws are seized
- You see chips or cracks at the glass edge
- You’re planning a replacement and want correct sizing + safe install; our guide on How to Install a Shower Door Step-by-Step covers the full process
- You’re noticing 5 Signs You Need Shower Door Repair before it gets worse
Start here: JDM Shower Door Repair service
If the issue isn’t the shower door but a patio/sliding glass door off-track or sticking, see: Sliding Door Repair Service
FAQ
Is it hard to remove a shower door?
In my experience it’s manageable for most homeowners, but the two parts that trip people up are silicone removal and handling the heavy glass safely. We see panels that fight back at the sealed jambs and bottom track, so the trick is to cut all the silicone first and never muscle the frame loose. With a helper on the glass, most removals we do go quickly, often the same day.
Can you remove a shower door without removing tile?
Yes, you can almost always remove a shower door without disturbing tile, as long as you cut the silicone thoroughly and back out the screws cleanly instead of prying. The cracked tile we get called to look at usually comes from someone yanking the frame before the seal was cut. Take your time on the seam, and the tile stays intact.
What should I do with the old glass?
If the panel is still intact, you can often recycle it depending on your local rules, and our technicians usually haul it off when we handle the job. If it’s already broken or it’s tempered glass that has let go, treat it as sharp and unpredictable: keep it contained, wear gloves, and follow your area’s disposal guidelines rather than tossing it loose in a bin.