
Shower door installation is one of the easiest ways to transform your bathroom from basic to beautiful, adding both value and functionality to your space. Whether you’re a DIY enthusiast ready to tackle it yourself or you’d prefer to hire professionals like JDM Sliding Doors, knowing how the process works helps you make the right choice for your home.
In this guide, we’ll walk you through how to install a shower door step-by-step, covering everything from sliding and frameless doors to popular models like Delta and DreamLine. You’ll also learn how long it takes, what it costs, and when to call in the experts for a flawless finish.
Why Proper Shower Door Installation Matters
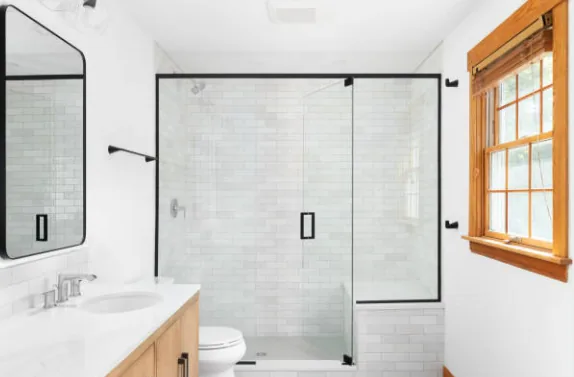
Proper shower door installation isn’t just about aesthetics. It’s about preventing leaks, ensuring safety, and maintaining durability. A misaligned door can lead to constant water leaks or even glass damage over time. That’s why proper measurement, alignment, and sealing are critical.
If your current door leaks or doesn’t close properly, it might be time for a repair. Check out our guide on 5 signs you need shower door repair to know when replacement or servicing is necessary.
If you’re not confident with tools or glass, hiring professionals like JDM Sliding Doors ensures flawless installation backed by expertise.
Choosing the Right Type of Shower Door
Before you learn how to install a shower door, it’s important to pick the right style for your bathroom layout.
Sliding Shower Doors
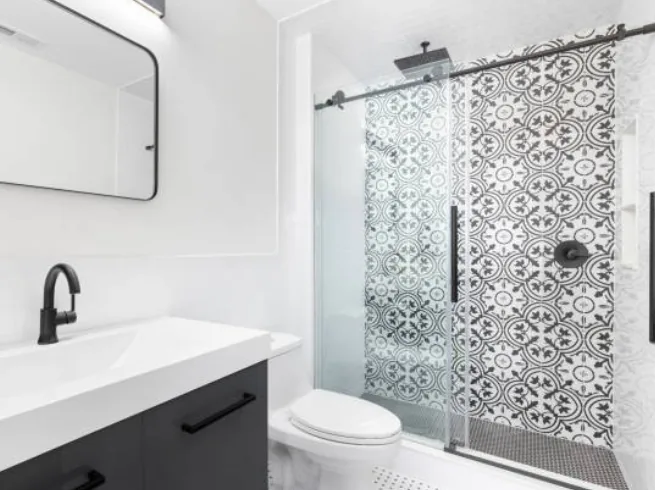
Perfect for compact bathrooms, sliding models move smoothly on tracks. If you’re wondering how to install a shower sliding door, know that accurate leveling of the bottom track is key to a smooth glide.
Hinged or Pivot Shower Doors
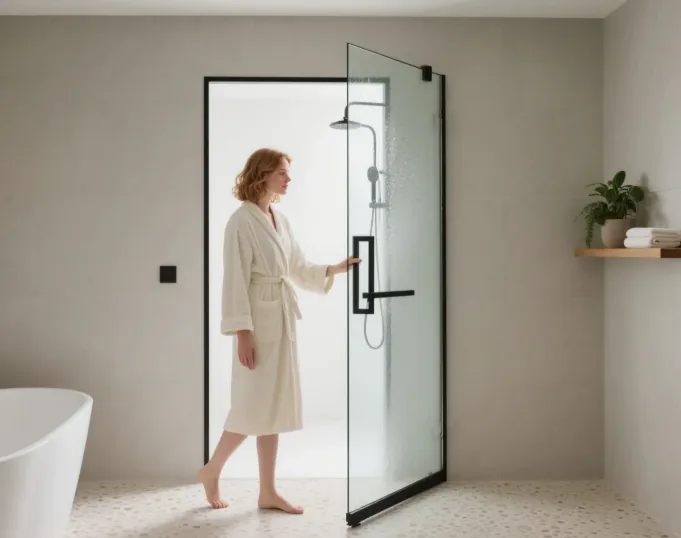
These open outward like a regular door and create a classic, spa-like look. When learning how to install a hinged glass shower door, focus on hinge alignment and wall anchoring for stability.
Frameless Shower Doors
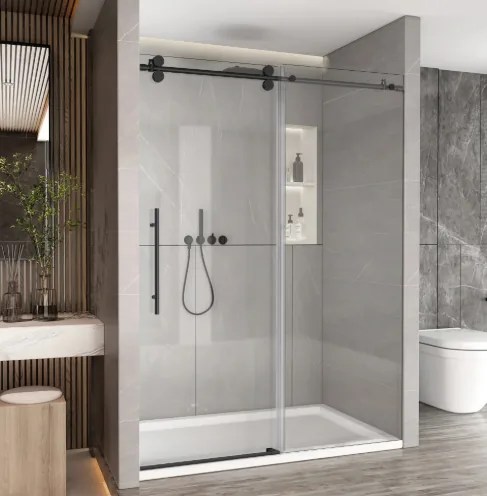
A sleek, modern favorite. Learning** **how to install a frameless shower door requires precision since there’s no metal frame to mask uneven walls. Every millimeter counts.
Tools and Materials You’ll Need
Before you start, gather these essentials:
-
Measuring tape
-
Level
-
Drill with appropriate bits
-
Screwdriver set
-
Silicone sealant (clear or color-matched)
-
Anchors and screws
-
Masking tape
-
Rubber mallet
-
Safety glasses and gloves
-
Shower door bottom seal (to prevent leaks)
Having everything ready makes shower door installation smoother and reduces mistakes mid-project. For a complete homeowner toolkit, discover the top 5 tools every homeowner needs to maintain their sliding door.
Step-by-Step Guide: How to Install a Shower Door
Here’s a general walkthrough you can follow for most shower door models. Always check the manufacturer’s manual for specifics.
Step 1: Measure and Mark
-
Measure the width and height of your shower opening at multiple points.
-
Mark the placement of your door track or hinges using a pencil.
-
For frameless or hinged doors, ensure the wall surface is plumb (perfectly vertical).
-
A misalignment of even ⅛ inch can cause leaks or door misfit.
Step 2: Install the Track or Hinges
-
For sliding doors, drill pilot holes and secure the bottom track first.
-
Double-check that it’s level before tightening.
-
Then attach the top guide rail.
-
For hinged doors, install the hinge brackets on the wall side, using anchors for stability.
This is the key step for how to install a hinged glass shower door properly.
Step 3: Mount the Glass Panels
-
Carefully lift the glass panels into place (use suction cups for better grip).
-
Align them in the track or hinge.
-
Tighten screws slowly, because over-tightening can crack tempered glass.
-
At this stage, you’re effectively completing how to install a glass shower door: the heart of the project.
Step 4: Install the Bottom Seal and Finishing Touches
-
Press or slide the shower door bottom seal onto the edge of the door to prevent leaks.
-
Apply silicone sealant along seams where the track meets the wall and base.
-
Let it cure for at least 24 hours before using the shower.
Thats the general process for how to install a shower door, though exact steps vary by model and manufacturer. Check out Home Depot’s DIY guide on installing a pivot shower door for step-by-step visuals and safety tips.
Prefer a flawless, stress-free installation? Contact the experts at JDM Sliding Doors handle your sliding door installation: professional, watertight, and done right the first time.
DIY vs. Professional Shower Door Installation
When it comes to shower door installation, homeowners often ask the same question: Should I do it myself or hire a professional?
The answer depends on your skill level, tools, and the type of door you’re installing. Here’s a detailed comparison to help you decide:
Not sure if you should handle it yourself or call in the pros? Read our breakdown about DIY sliding door repair vs. hiring a pro.
FAQ’s About Shower Door Installation
How much does it cost to install a shower door?
In my experience the cost comes down to the type and size of door you choose, and here’s the range we see in the field: sliding doors run $400–$800, frameless doors $900–$1,500+, and custom or premium models up to $2,500. When our crew handles the install, those figures include materials and labor, so there’s no surprise add-on once we’re on site.
How long does it take to install a shower door?
In my experience a careful DIY install runs 4–6 hours, while our technicians usually finish in 2–3 hours depending on the door and how square the opening is. Most straightforward jobs we book get done the same day, because we come with the right tools and have set these doors hundreds of times.
Can I install a shower door myself?
Yes, you can install a shower door yourself, but I’d urge caution. The two things we see go wrong most are mishandled tempered glass (it can shatter at the corners with surprisingly little stress) and small measurement errors that snowball into leaks or a door that won’t sit level. If you’re not fully confident with glass and a level, bringing in a pro is money well spent.
How to install a shower door bottom seal?
Clean the bottom edge of the glass, measure and cut the seal to length, then press or slide it onto the glass until it seats fully. In my experience the step people skip is testing: slide the door through its full travel afterward to confirm the seal isn’t dragging, and reapply silicone at the ends if you still see water sneaking past.
Do frameless shower doors leak?
When they’re installed properly, no, they don’t leak, and that’s the part homeowners worry about most. In my experience the leaks come down to two things: a cheap or worn bottom seal and an opening that wasn’t squared up before the glass went in. Get those right (which is exactly where our crew focuses) and a frameless door stays watertight.
Conclusion
Whether you’re learning how to install a shower door yourself or looking for a hassle-free professional solution, preparation and precision are key. A perfectly installed door not only elevates your bathroom but also prevents long-term issues like leaks and corrosion.
If you’d rather skip the stress and guarantee a beautiful finish, JDM Sliding Doors has you covered. Our expert team specializes in all types of shower door installation, completed with precision and care.
Ready to upgrade your shower? Contact JDM Sliding Doors today for a free quote and experience the difference of expert craftsmanship.